| CHAPTER 2 Motion Console |
|||
Associating Objects with Motion ConsoleMotion Console's Object Explorer can be used to associate objects comprising your motion control system. Objects are associated (mapped) in specific ways, for example: If SERCOS is employed, you must also configure:
How Many Controllers?In Motion Console, each "Controller" designates a physical piece of hardware: one XMP controller, with or without an expansion card. Depending upon how your XMP controller is configured, you will be able to command 8-24 axes per controller. If you require more axes, you will need to install additional XMP controllers. Creating a New Controller ObjectBefore any mapping can de done, you must first add a Controller. To determine whether a Controller object already exists, look at the Object Explorer. The Object Explorer may appear as shown below if a Controller has not yet been added. (No objects will be listed below the Controllers icon in Object Explorer, or listed within the Controller Summary.) An unconfigured Motion Console.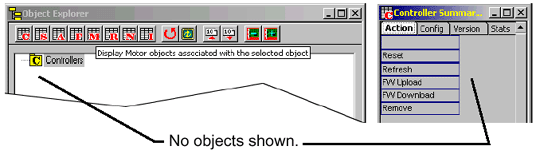
To add a Controller to Motion Console, click on the Add Controller icon on the Object Explorer toolbar or the main toolbar. 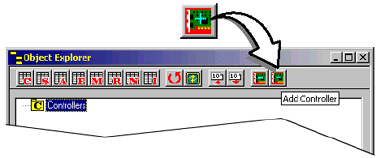
Clicking on the Add Controller icon displays the Add Controller dialog box. In most cases, the default settings may be left as-is. If you desire to make changes to settings, refer to the "Controller Object" section of this chapter for a description of attributes. 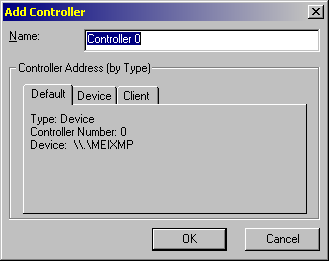
Click on the OK button to add a new Controller. The new Controller will be added to the object tree of the Object Explorer, which now appears as shown here: 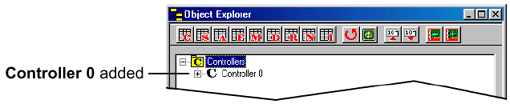
Whenever a Controller is added to the Object Explorer, it will have a number of sub-objects. These objects are explained below. Mapping a Motion SupervisorThe Motion Supervisor is a high-level, motion "task master," which may be configured to manage any number of axes. In the majority of cases, however, it is advantageous to assign to each Motion Supervisor one Axis. This keeps the architecture simple, and offers maximum flexibility. In limited cases (e.g., gantry cranes), it may prove helpful to map additional axes to a single Motion Supervisor. The mapping displayed below shows one configuration. In this case, Axis 0 has been mapped to MS 0. Motion Supervisors 1-7 (not shown below) are also mapped to the same Controller object, giving a total of eight (8) Motion Supervisors. 
As shown here, Motion Supervisor 0 has the following sub-objects mapped to it: Axis 0; Filter 0; and Motor 0. Other mappings and combinations are possible too, subject to the user's control. | |||